Results 1 to 10 of 10

Thread: Project: SmokehMcPC // a revo21 custom build.

  1. #1
    Xtreme Enthusiast
    Join Date
    Sep 2005
    Location
    Utrecht, NL // Kingston, Jamaica
    Posts
    615

    Project: SmokehMcPC // a revo21 custom build.

    So if you have seen my worklogs before you know im a quiet computing, performance machine, wiring enthusiast. Since its my hobby I figured I would enjoy making machines for others, and here is the computer I built this week.

    Specs:


    Basically we wanted an affordable but powerful system. that means a good Mobo between $100-$150, a really good gfx card, and a good PSU. I was even surprised by the total cost. its good to know you can build a monster for between $1000-$1300.

    GOALS
    • Awesome wiring
    • Clean system
    • Quiet
    • Somewhat powerful (this means overclocking and lots of stress testing/OS optimizing)

    -----------------------

    Here we go:
    The newegg stuff arrived before the weekend and it took 5 more days for the case and accessories to arrive. pics-

    -

    -

    -

    -

    -

    -

    -


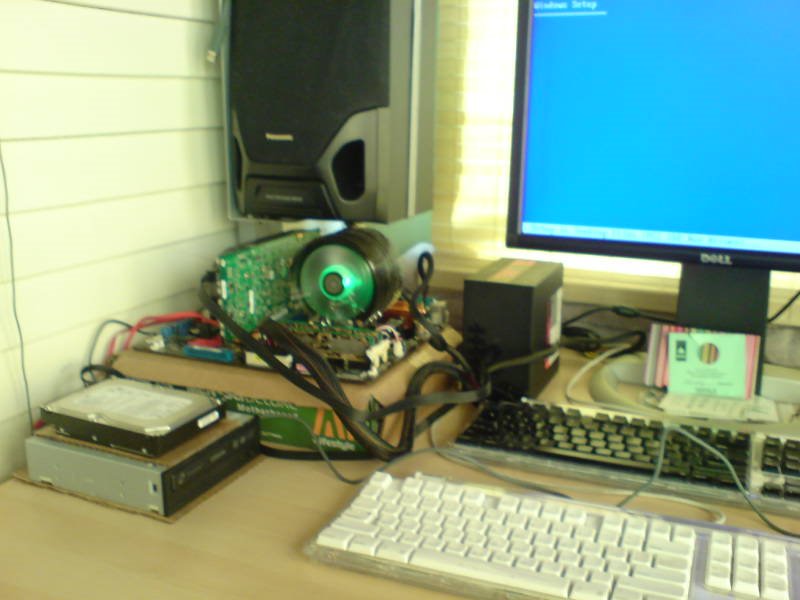
    So I figured that I might as well setup a test bench, get the system fully installed, tweaked, OC'ed and tested. Best use of time.


    --

    --

    --

    It was great. I had the bench setup on the desk with a spare keyboard n mouse attached, with both the bench and my system plugged into the monitor. Eventually the final clocks rested at 2.9ghz on the CPU with the ram just under DDR600 and stock timings. I was able to keep the vcore down and keep the fans on silent Q-fan profiles which meant they only spun up linearly with load and heat. Its great.

    ---------------

    Now we build!

    First things first, strip down the case. We don't need no silly drive cages!
    -

    --

    --

    --

    --

    I removed the front fan to make way for a yate loon, plus grouped and taped the front panel lights and buttons. Next up I needed the mobo to measure spots for cutting and fitting.
    -

    --

    --

    --

    --

    What a pretty PSU! and quiet!
    Next up, I went outside to me deck, got out the trusty dremel and metal files. Have to make cuts before any sound damping foam or components can go in.
    -

    --

    --

    --

    Awesome. Since I wanted to use the stock fan for the back area, assuming it had more airflow than the YL fan, and knowing there would be some heat to get outta the case, i went ahead and sleeved the fans. After that it was simply a matter of running the cables thru the holes!
    -

    --

    --

    --

    The main power cable was a to lay flat thru the hole! the mobo was not even coming close to laying flat to be screwed down. I ended up stripping the sleeving a bit to fan out the 24 wires to allow it to work. I got thru eventually. Its definitely hard to install a packed mobo WITH 2 power cables already attached!
    -

    --

    --

    --

    --

    For the HDD, we got a Nexus disktwin so I could maybe silence the drive a bit, but also mount it up high and hidden One major problem that reared its head was how the bezel would fit back on! The disktwin mounts the drive very close to the front of the case and left no space for the bezel to clip into place. And then I looked closer and pulled out my trusty snips!
    -

    --

    --

    --

    --

    --

    Voila! Last thing to do is drop in the Vid card (so dam pretty! and QUIET! but SUNblazing hot!) and attach the cables, then take it to ma room for heat and sound testing.
    -

    --

    --

    --

    --

    --

    --

    --

    --

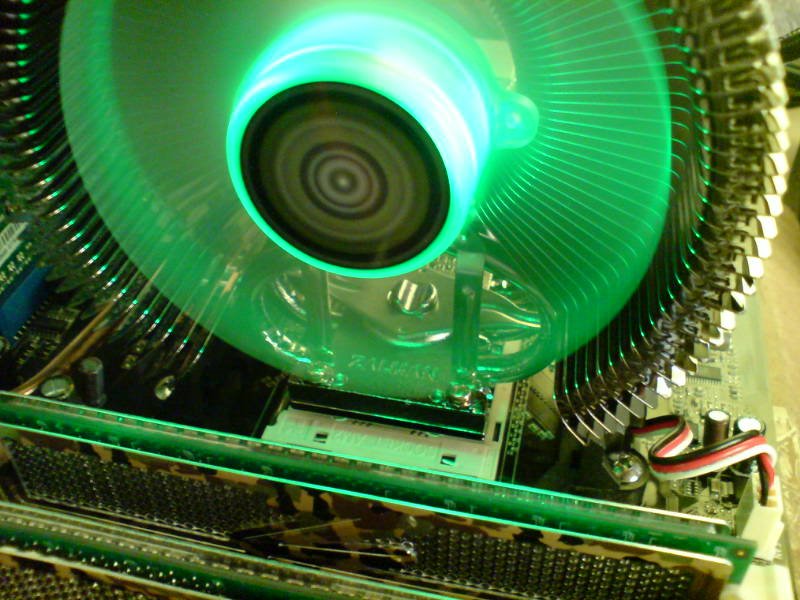
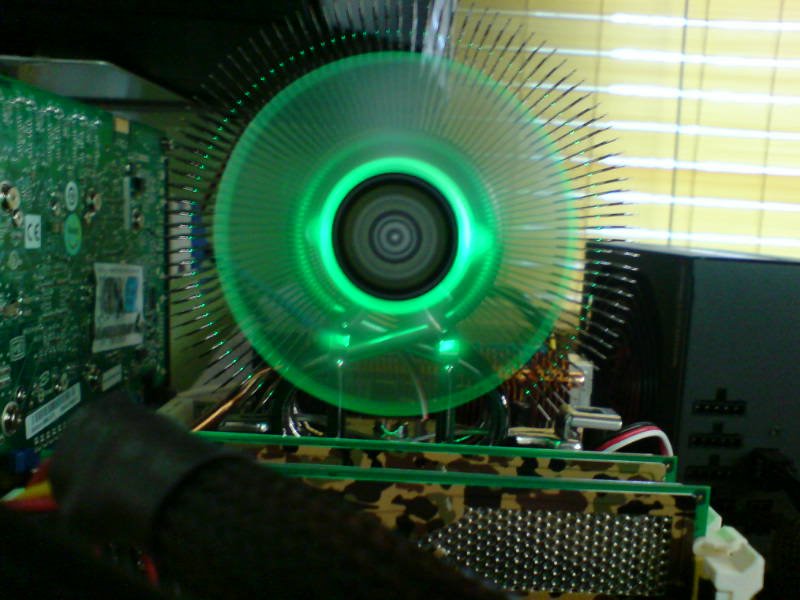
    I put 3dMark06 to native res (1680x1050) upped settings and put it on a loop with background apps running. I BEGGED the machine to crash. nope, stable as a rock and venting all the gfx card air from the side fan without bothering the CPU that much. In addition, the cpu pulled some good air from the top 80mm square hole (where I took the top down shots of the cpu fan thru).

    The next morning, I tried to take a few more farewell sunny shots. some came out decent most did not. :/
    -

    --

    --

    --

    --

    --

    --

    --

    --

    I was late for work so the plan was to pack and ship over lunch. A suggestion came to think about the PC speaker location, so I went ahead and moved it, and finished up the sound damping, with some "texture"
    -

    --

    --

    --

    --

    --

    --

    --

    --

    ---------------------------------
    SHIPPED! that's all folks. hope you enjoy!
    Apple Macbook Pro º 2.4GHz Intel Core 2 Duo º GeForce 8600M GT 256MB º 2GB 667MHz DDR2 º 15" TFT LED backlit display // Dell 2407WFPHC // Xbox360 // Ek + Swiftech blocks in storage

    r3vo+PC Fall_06 Build
    Spring Customer Build

  2. #2
    Xtremely High Voltage Sparky's Avatar
    Join Date
    Mar 2006
    Location
    Ohio, USA
    Posts
    16,040
    Nice! I have that same PSU, I love it

    Shouldn't that side fan be an intake fan though?
    The Cardboard Master
    Crunch with us, the XS WCG team
    Intel Core i7 2600k @ 4.5GHz, 16GB DDR3-1600, Radeon 7950 @ 1000/1250, Win 10 Pro x64

  3. #3
    Xtreme Enthusiast
    Join Date
    Sep 2005
    Location
    Utrecht, NL // Kingston, Jamaica
    Posts
    615
    well it can be any way you want. i have it positioned near the 88GTs vents in order to remove the large amount of heat that comes out hte 3 slits at the end of the cooler. there is already cool intake coming from the front 120mm.

    you you may have seen, lots of peeps put slot cooler fans in the pci slot right beside the gfx card end in order to help vent all the heat exhaust. works like a charm!

    and yes, i must use this family of PSU's in my next build.
    Apple Macbook Pro º 2.4GHz Intel Core 2 Duo º GeForce 8600M GT 256MB º 2GB 667MHz DDR2 º 15" TFT LED backlit display // Dell 2407WFPHC // Xbox360 // Ek + Swiftech blocks in storage

    r3vo+PC Fall_06 Build
    Spring Customer Build

  4. #4
    Xtreme Guru
    Join Date
    Jun 2006
    Location
    Finland, joensuu
    Posts
    3,527
    GOALS
    • Awesome wiring
    • Clean system
    • Quiet
    • Somewhat powerful (this means overclocking and lots of stress testing/OS optimizing)

    i think you achieved your goal, very nice looking project indeed. the cable managment is really awesome. my cables looks like a mess compared to your wiring.
    Evga X58 sli under cascade
    http://www.xtremesystems.org/forums/...d.php?t=219788
    Evga X58 Sli ultimate overclocking/ overview/ discussion thread
    http://www.xtremesystems.org/forums/...d.php?t=221082


    proud owner of E8600 Q822A435

  5. #5
    Xtreme Member
    Join Date
    Feb 2007
    Posts
    407
    Really good cable managment there
    =- Main RIG -= Quake 4 flies - Problem Solved
    -= Intel QX6700 2660 MHz OC 3.2 GHz =-
    -= Asus Striker Extreme nVidia nForce 680i SLI =-
    -= PDP Patriot Dual XBLK 2x 1GB DDR2 1 GHz CL4 =-
    -= EVGA GeForce 8800 GTX 768MB KO ACS3 =-
    -= Creative Sound Blaster X-Fi Fatal1ty =-
    -= WD Raptor X 150 GB 16MB SATA =-
    -= 2xSeagate 320 GB Barracuda 16MB SATAII =-
    -= CoolerMaster Stacker 830 Black =-
    -= Topower TOP-1000P10 U12 EZ =-
    -= Logitech G15 =-
    -= Razer Copperhead Laser 2000 DPI Blue =-
    -= Logitech Z-5500 THX =-
    -= Dell 2407 WFP UltraSharp =-
    -= Windows XP Pro SP2 =-

    Sorry for my bad English. I'll try to improve.

  6. #6
    Registered User
    Join Date
    Mar 2007
    Posts
    40
    Sweet jebus. You've totally inspired me to make a similar build.

  7. #7
    Xtreme Enthusiast
    Join Date
    Oct 2006
    Location
    England
    Posts
    702
    very neat and tidey, love the cable manegment, well done on a great looking project.

  8. #8
    Registered User
    Join Date
    Oct 2006
    Location
    Italy
    Posts
    90
    great job man...nice hardware and very good looking
    CPU: Q6600 G0 @ 3,6
    MB: Asus P5K Deluxe
    RAM: 4*1 GB Cellshock PC8000
    STORAGE: 2x 80 Gb Samsung Raid 0
    VIDEO: Asus 8800 GTX
    POWER SUPPLY: Tagan Easyconn 700W
    CASE: Cooler Master Stacker
    LCD: Samsung 205BW
    COOLING CPU: Tuniq Tower

  9. #9
    Xtreme Member
    Join Date
    Sep 2006
    Location
    Hauppauge, NY
    Posts
    239
    Do that for me!(cable managing)
    Abit Fatal1ty F-I90HD mATX w/ HDMI
    Intel Core 2 Quad Q6600 SLACR/G0
    Buffalo Firestix 2x1GB DDR2-1000
    Razer Barracuda AC-1
    Apevia X-Qpack2 Black & 420w PSU
    Stock Intel HS w/ 92mm fan

  10. #10
    Xtreme Member
    Join Date
    Sep 2006
    Location
    Hauppauge, NY
    Posts
    239
    I ordered this case and I'm gonna copy off your holes if you don't mind.

    Do you have to use a drill to get out the 3.5" bays or just a screwdriver?

    Are the stock fans that loud? I can always 7v them. I have Yates but why use if I can just 7v the stock ones.
    Abit Fatal1ty F-I90HD mATX w/ HDMI
    Intel Core 2 Quad Q6600 SLACR/G0
    Buffalo Firestix 2x1GB DDR2-1000
    Razer Barracuda AC-1
    Apevia X-Qpack2 Black & 420w PSU
    Stock Intel HS w/ 92mm fan

Bookmarks

Bookmarks

Posting Permissions

  • You may not post new threads
  • You may not post replies
  • You may not post attachments
  • You may not edit your posts
  •